

OWC U.2 NVMe Interchange System for Mercury Helios 3S

OWC U.2 NVMe Interchange System for Mercury Helios 3S
Maximum drive performance
4x faster than SATA SSDs
Quick Specs:
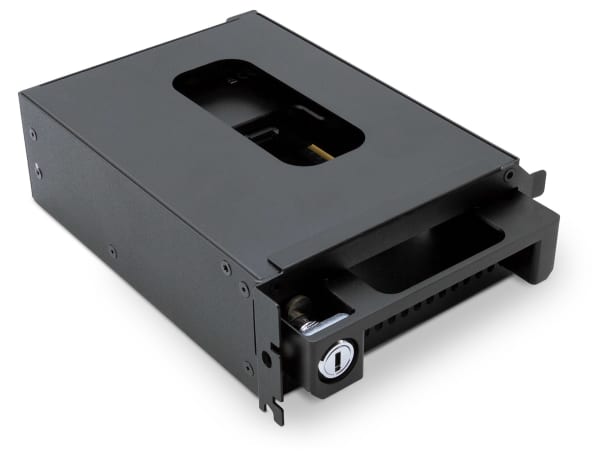
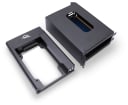
- Locking drive bay
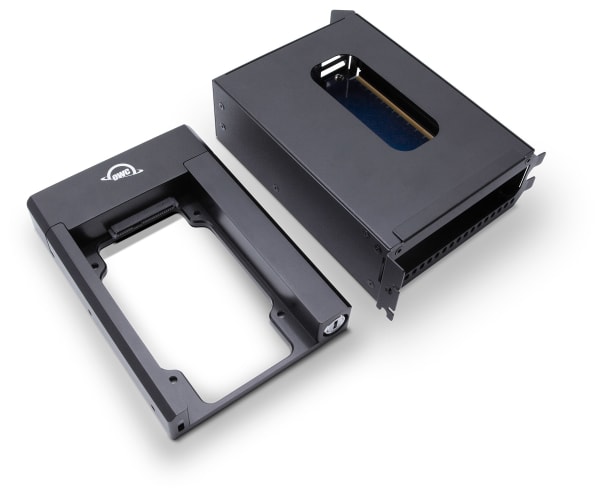
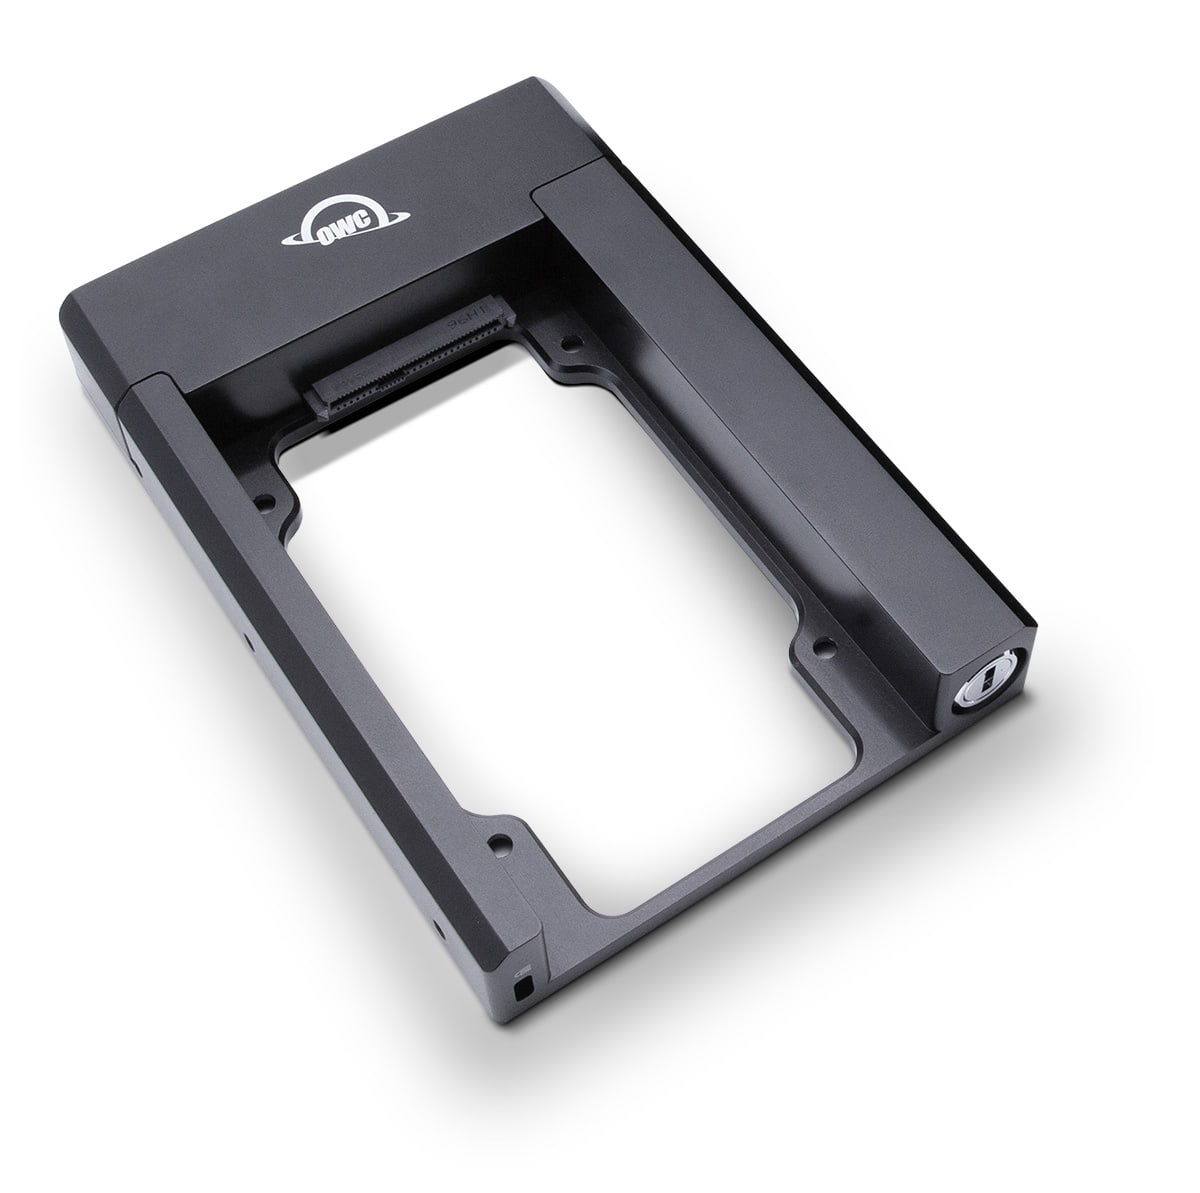
- Protective carrier tray
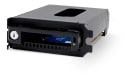
Revolutionary: turns Mercury Helios 3S into the world's first swappable Thunderbolt 3 U.2 NVMe SSD storage solution
- Maximum drive performance: up to 2631MB/s real-world performance
- Durable solution: protects U.2 connector for improved drive longevity and investment
- Store more: install up to a 16TB U.2 NVMe SSD onto the drive tray
- Keeps drives cool: uses Helios 3S thermally dynamic design and active cooling
- Use anywhere: enables U.2 NVMe drive use in the studio and out in the field
- Designed for global workflows: lightweight drives dramatically lower shipping costs
Interchange System Bundles
Convert OWC Mercury Helios 3S into a swappable U.2 NVMe SSD storage solution
Interchange System Spares & Add-Ons
Add a spare Drive Carrier or Drive Bay Insert.
Speed. Security. Savings.
The holy trinity of data storage requirements in the production-to-lab workflow is transformed by the OWC U.2 NVMe Interchange System for the OWC Mercury Helios 3S. By combining a locking drive bay and removable tray, the OWC U.2 NVMe Interchange System turns the Mercury Helios 3S PCIe Expansion chassis (sold separately) into a time and money-saving swappable U.2 NVMe SSD storage solution for high-performance film/video production requirements.
Over 4x Faster SSD Performance
While SATA is the most common consumer-grade SSD connection with up to 6Gb/s transfer rates, U.2 NVMe SSDs are designed to take advantage of the direct connection PCIe technology offers to achieve real-world rates up to 2631MB/s1… over 4x faster than SATA maximum! It’s no wonder U.2 NVMe SSD use began in the enterprise and server market where ROI is defined in nanoseconds and ensuring reliability is paramount.
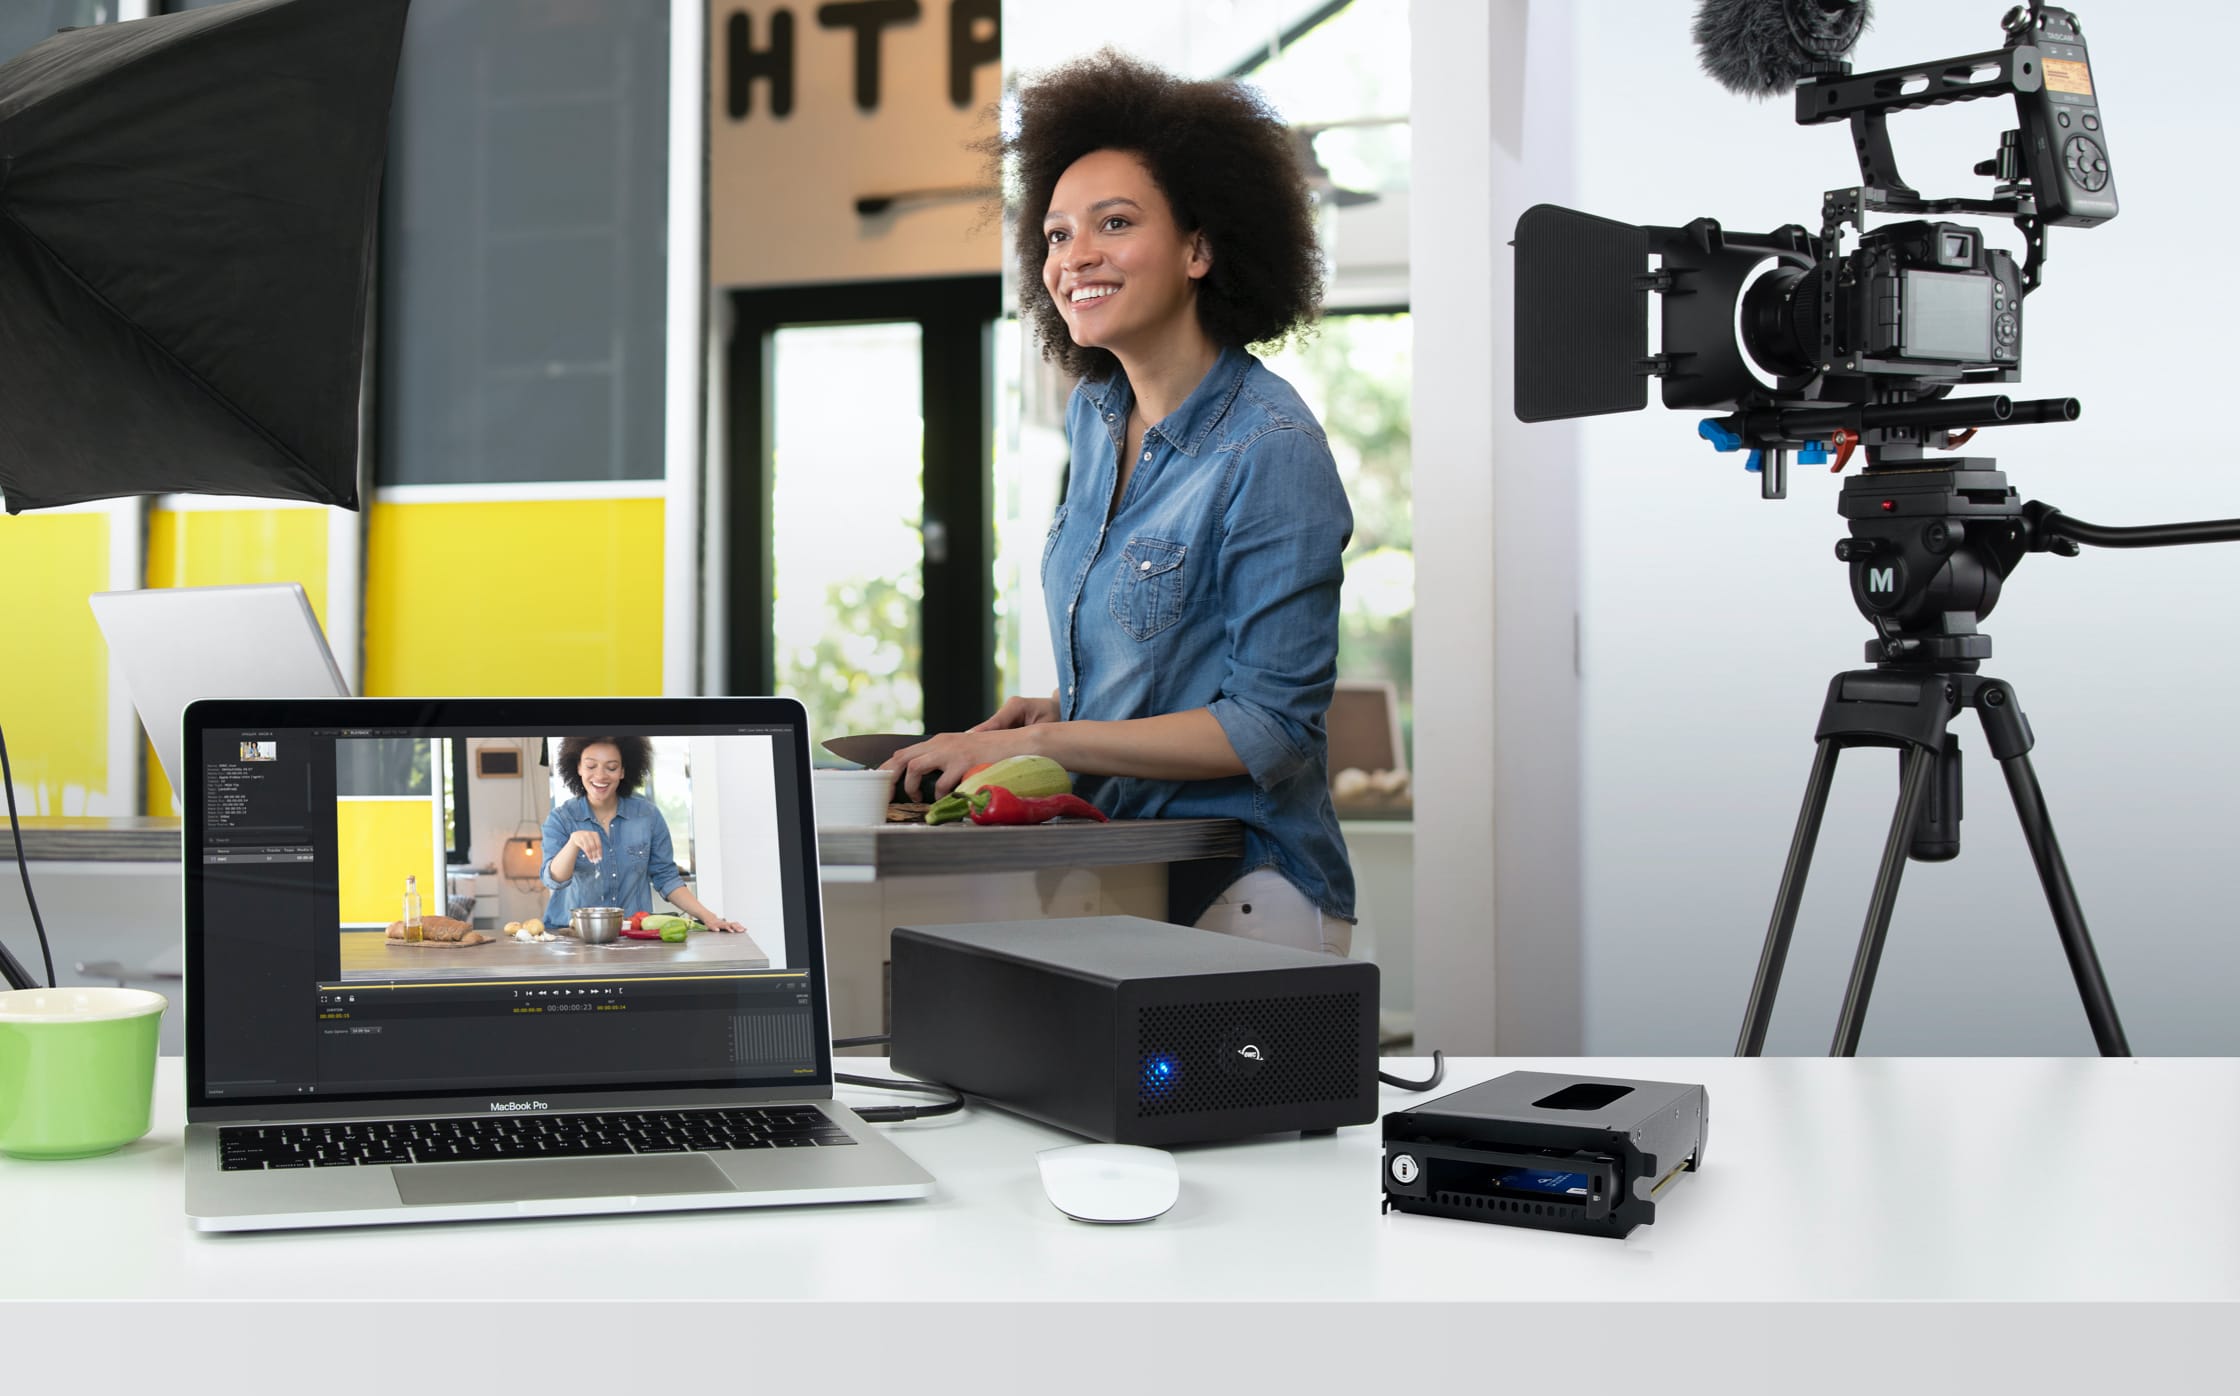
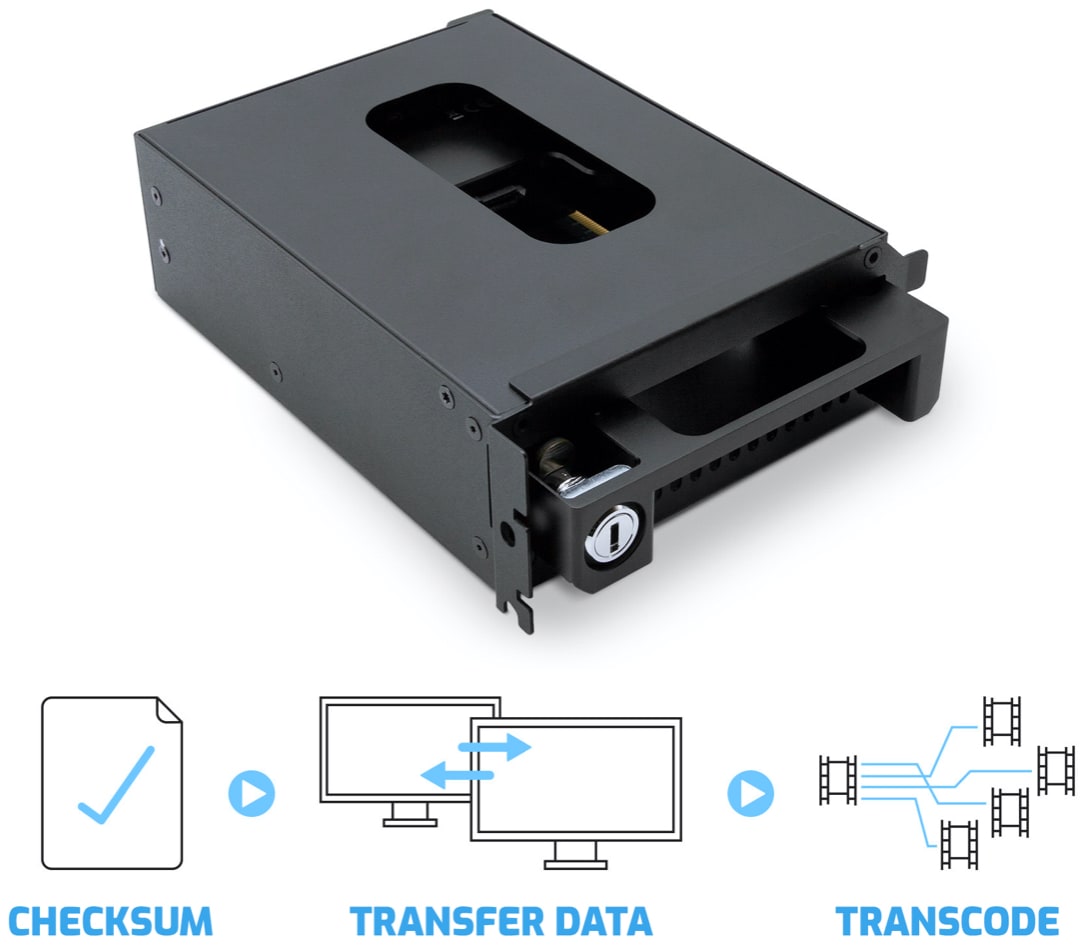
Now you can rapidly checksum, transfer data, and transcode the day’s shoot into the OWC Mercury Helios 3S, quickly pull the Interchange System tray mounted U.2 NVMe SSD out and send it on to postproduction ... imagine no more tedious and time-consuming drive enclosure disassembly to access a storage drive and install a new drive.
Save Time and Money While Securing Data
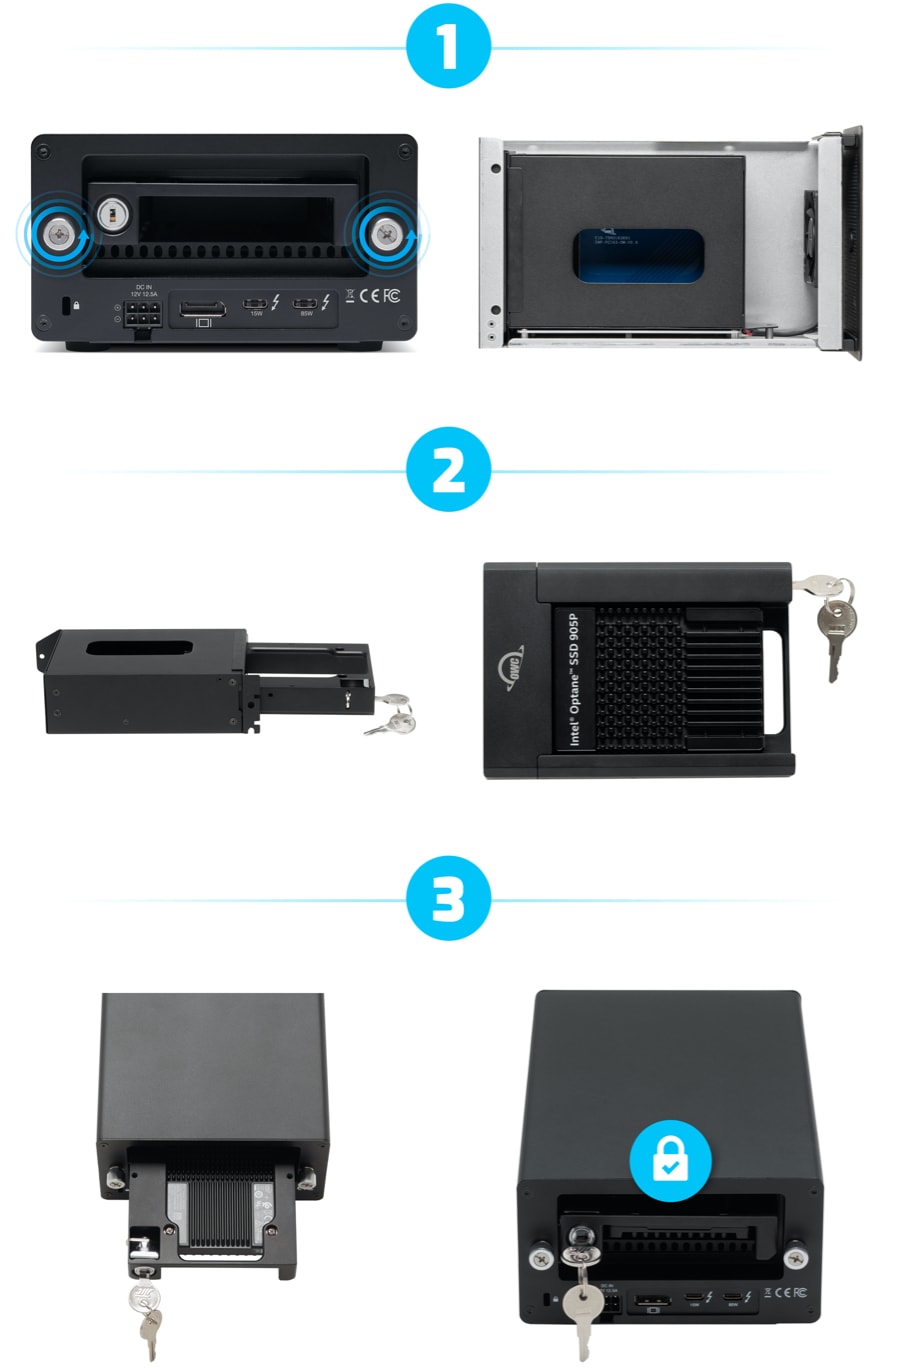
For over three decades, OWC has listened to its customers and created innovative solutions that solved their data storage challenges. The OWC U.2 NVMe Interchange System for Helios 3S continues that rich history with an integrated solution that saves M&E industry professionals time and money while safeguarding their data in three easy setup steps.
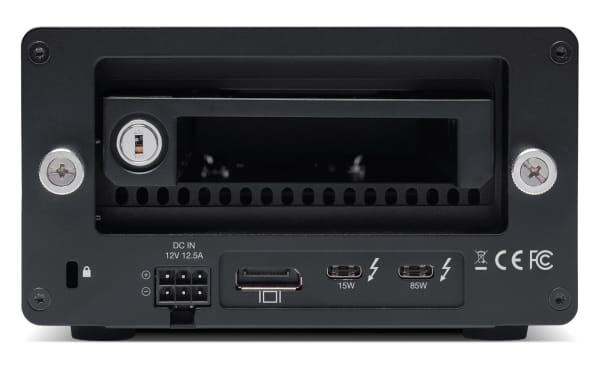
Step 1: Disconnect Thunderbolt cable, loosen enclosure thumbscrews, and install drive bay into Mercury Helios 3S’s PCIe slot.
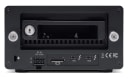
Step 2: Mount an NVMe SSD to the drive tray.
Step 3: Slide and lock tray into drive bay to secure your data and reconnect Thunderbolt cable.
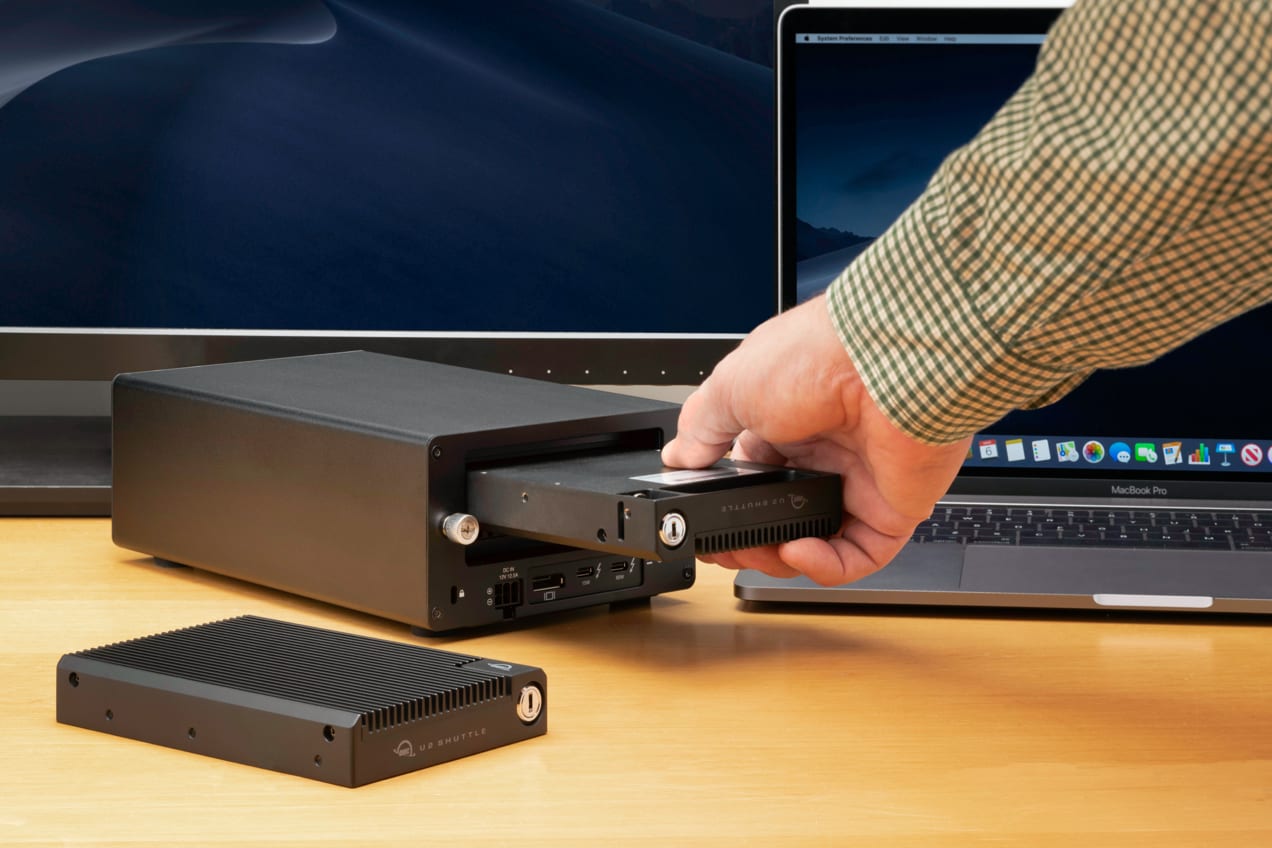
Need to get that drive to postproduction on a tight deadline with an equally tight project budget?
Just pull the Interchange System drive tray out of the drive bay and ship it to enjoy significant cost savings over shipping a heavy enclosure. Then just swap in another drive with an additional tray (sold separately) to keep your data and projects flowing smoothly and securely.
Works with OWC U2 Shuttle
Blistering speed. Massive capacity. RAID-ready flexibility. Swappable convenience. The OWC U2 Shuttle is everything you’ve wanted in a multiple blade SSD but couldn’t get until now. It is the world’s first shuttle for four NVMe SSDs that easily inserts into 3.5 inch drive bays. Built for OWC storage and PCIe expansion solutions like OWC Mercury Helios 3S with U.2 NVMe Interchange System, this innovative carrier shuttle can also be used with PCs and servers with U.2 drive bays.
Shown here: OWC Mercury Helios 3S with U.2 NVMe Interchange System and OWC U2 Shuttle SSDs
Need Additional Drive Trays or Bay Inserts?
Be ready with extra Interchange System drive carrier trays, or add a spare bay insert to a second OWC Helios 3S in another location and swap drives between them.
OWC Mercury Helios 3S
Add an external PCIe slot to your Thunderbolt 3 Mac & Windows PC!

OWC, Trusted by Pros & Enthusiasts the World Over
We build our hardware to the highest standards of reliability and performance. Because 100% reliability is always the goal, we rigorously quality test and back our hardware with a 2 Year OWC Limited Warranty and award-winning customer support.
Learn More- Sequential read/write performance in iMac Pro Late 2017 (iMacPro1,1) with 32GB RAM, 1TB boot drive, and 3.2GHz processor running AJA System Test (4K-Full resolution, 64GB file size, 10bit RGB codec, single file test).